Dental Implant Process
Step By Step
A tooth may be lost for a variety of reasons, such as decay, infection, gum disease, trauma, or the removal of an impacted tooth.
A single tooth restoration produced by DaVinci Dental in Milton Keynes is the most efficient and secure solution for a missing tooth, enabling you to eat, smile, and laugh again with confidence.
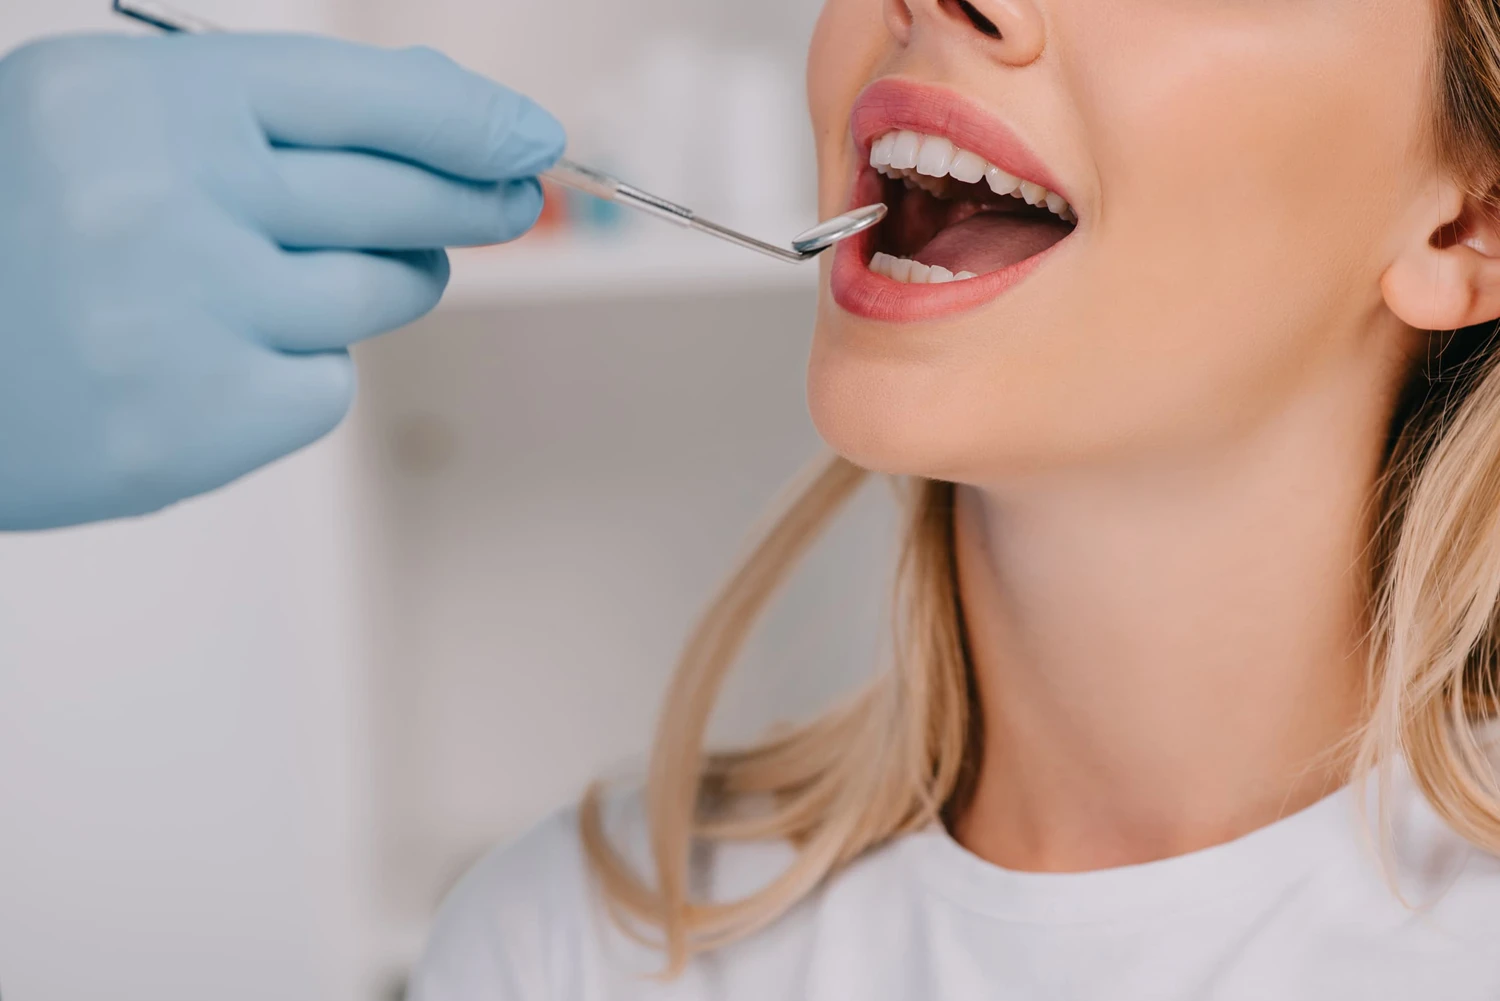
A dental implant may help you get back the smile of your dreams, as well as restore function to a missing tooth.
At DaVinci Dental Clinic in Milton Keynes, we’ll take the time to walk you through every step of your dental Implant Surgery.
DaVinci Dental Clinic offers world leading dental implants at affordable prices and with 0% finance.
What Is A Dental Implant?
When a tooth falls out, the root that holds it in place is also lost.
This means there’s nothing to keep a replacement tooth in position.
By using a titanium fixture to duplicate the function of the natural root of a missing tooth, solves this problem.
The bone is prepared, and the prosthetic replacement tooth (crown) is attached to the implant.
The implant then serves as a foundation, just like your natural root.
This gives a solid point on which to place a crown, replacing the lost tooth.

01
Step One - Dental Implant Consultation
The first step will be for you to come in for a comprehensive implant examination and consultation.
This is crucial in order to assess your entire case since everyone is unique, as well as to meet us and get acquainted with the practice.
We will look inside your mouth in the exam to assess and record any irregularities.
Then we’ll do panoramic x-rays and 3D CT (Computed Tomography) scans to obtain a thorough view of what needs to be done.
We will use the x-ray and CT images to determine how much bone you have available for implants, as well as provide you with a precise treatment strategy.
We’ll go through each stage in detail, and you may ask any questions you may have.
X-rays and scans are required to create your individual therapy plan.
Implant procedures may be more complicated than just placing them, so at your consultation the dentist will go through any additional treatments or choices as well as their costs and be itemised in your treatment plan.
Without a consultation, prices can only serve as a rough guide.
Smoking, periodontal disease, and a few medical problems can all have an impact on the long-term effects of implant therapy.
We strongly suggest that individuals who smoke reduce their smoking to 5 or fewer cigarettes per day or stop entirely.
Gum issues may require some treatment from the hygienist to stabilize everything before implants are started. However, this can be explained in your consultation.
At DaVinci Dental, we understand that you may be a little apprehensive about the dental implant journey, which is why we can offer you sedation.
02
Step Two - Temporary denture
This may or may not apply to you on your treatment journey.
In some situations having implant treatment may take a long time to complete and it is possible to have temporary teeth during this.
To create your denture we would take impressions to design your dentures and it will take up to 2 weeks for this process.
04
Step Three - Extraction
Extractions are necessary in certain scenarios. This might be the case for a variety of reasons, but keep in mind that it may not apply to you.
If you require this, you can have your tooth extracted and replaced straight away if there is no infection and enough bone to grab the implant; however we might remove a tooth and fill the socket with artificial bone transplantation in other situations.
By doing this it will give us more surface area to work with when we put your implant in later.
There is a delay of around 4-6 months until the implant may be inserted to allow for the bone replacement to strengthen.
In extremely rare circumstances, we may not be able to insert an implant or do bone grafting and will have to wait 3-6 months before beginning therapy.
However, you will be informed of your condition in your consultation.
Patients who have had extractions in the last few weeks are more likely to require tissue transplantation than those who haven’t.
05
Step Four - Implants
The implant is the screw component that goes into the bone to replace the root portion of a natural tooth.
They come in different sizes and thickness, so it’s critical to use CT scans to determine what size implant your bone will accommodate.
The surgery and dentist/nurse are all dressed up in sterile clothes when you arrive for your implant placement.
Don’t be alarmed; it’s just to protect you from illness. You will only feel some pressure, mild vibration, and salty water during the procedure.
Beforehand, make sure you have a hearty meal and some pain killers on hand.
If you have an implant on the top back region of your mouth, you may require a sinus lift.
The sinus is simply an empty region under your eye inside your cheek that we can access if the bone beneath is reduced.
To increase the height of the bone, we place bone marrow in this gap. You will only see gums in this area.
Everything else will be left inside for the best form of recovery.
05
Step Five - Suture Removal
After 2 weeks, we’ll take you back to have your stitches removed.
If you live far away, a local dentist may remove them for you; but always double-check with them first.
This only takes a few minutes, but we must make sure the area is healing properly and gently remove the stitches if the work is done.
If you experience any discomfort during the procedure, we can always apply a topical anesthetic.
We may inspect your denture to see if it is fitting properly and make any necessary modifications on this visit.
The duration between the stitches being removed and your teeth being exposed varies, and your dentist will go through your case during your consultation; however, it is generally around 4-6 months.
06
Step Six - Implant exposure
The bone will be almost entirely fusing with the implants after the healing period, now it’s time to begin restoring.
On the day of exposure, you’ll need a limited injection on the gum to numb it.
We’ll take out a little circle of gum covering the implant and insert a healing screw to allow for healthy circular healing of gums ahead ready for any crown or bridge.
07
Step Seven - Impressions
This is when we get started on your crown or bridge. We’ll remove your healing screw and use an abutment, which looks like a post emerging from the implant.
This will be inserted into the impression to give an exact reading of the mouth’s angle.
After the diagnosis, we will need to take a dental impression of the other jaw and a bite registration so that the lab may create a bespoke restoration to fit precisely in your mouth.
We’ll check the colour against the rest of your teeth so that you’re not stuck with something undesirable.
If you want to whiten your teeth, be sure to do it before this stage because restorations will not change colour as a result of whitening.
You will return with your healing screw in place, and we will send all of you work to the lab in Hungary.
There are many crown and bridge materials to choose from. The most popular material for crowns is porcelain bonded to metal.
This implies that the inner portion of the crown and abutment is made of metal.
The crown and abutment are made of metal within, but the outer layer that you can see in the mouth is porcelain.
We usually recommend that people who undergo implants in the front get zirconia abutments and crowns.
This material is entirely ceramic and porcelain, so it appears more translucent owing to the absence of metal.
Both materials are quite durable; the only difference is whether they look good or not. Zirconia crowns are slightly more expensive per crown.
08
Step Eight - Try in
This may not be the case for everyone. When you have a full mouth rehabilitation or implant bridge, you’ll almost always need an extra appointment.
During this session, we’ll only test out a cast model of your restoration.
Before returning it to the lab, where they will create the final restoration, we make any necessary modifications in the mouth.
09
Step Nine - Fit
On this day, we will finish the restoration process with your final appointment. The materials we employ depend on the type of restoration you have.
We’ll check your bite to verify that it’s comfortable and in good contact with the rest of your teeth after it’s installed.
Before making the last fit, we’ll make sure you’re satisfied with the colour and shape before making the final fit.
If anything has to be changed, we will have to return the work to the lab, but it is better to be perfect for you.
The major system at our clinic is called a screw retained system. This simply indicates that the crowns are screwed into your implant via access on top.
A tiny filling will be placed over this access. Because This design is the best as it means the restoration can be removed by the dentist at any time should there be an issue.
We do everything we can to accomplish this for each patient, however, it’s sometimes impossible due to the patient’s angle or natural bite force.
In this situation, we install a specially constructed abutment, followed by cementing the restoration over.
If you have an over denture, you’ll almost certainly have a bar connected to your implants.
The rubber is then pushed down into the gap, allowing for a tight fit. After that, the denture part will click over it with little rubbers.
These rubbers tend to wear down with time and must be changed by a dentist every two years, but don’t worry; this is a simple and quick procedure.
10
Step Ten - Review/check ups
We like to bring patients back in either 3 or 6 months after having their implants completed for a check-up.
It’s important to follow this appointment up after dental implant surgery to ensure healing is completed successfully and detect any developing issues as soon as possible.
After this, we always advise getting your checks done once a year.
To guarantee that your implants are not injuring the surrounding tissue, they will be x-rayed to ensure there is no loss of support from the bone.
It’s also necessary to visit a local hygienist for a thorough scale and polish at least once every six months. To preserve both your implants and natural teeth.
We don’t just look for decay; we also carry out an oral examination to detect any indications of mouth cancer or gum disease, which generally aren’t painful.
As a result, dental check-ups are important for maintaining a healthy mouth and body.
Gum disease and smoking are the two greatest foes of teeth and implants, as we’ve seen.
Implants aren’t suitable for everyone! You might still lose your implants if you don’t brush your teeth properly or abuse harmful chemicals.
Bone Graft Healing Stages
If you need a bone graft to create more surface area to place the implant, then there is a delay of around 4-6 months until the implant may be inserted to allow for the bone replacement to strengthen.
The time between your stitches being removed and your teeth being exposed varies by person and your dentist will go through your case during your consultation.
However, it is generally a gap of around 4-6 months